Building a new home isn’t just a series of decisions—it’s a life-changing experience that starts with a vision and ends with a place to call your own. It can also be a bit of a rollercoaster, with moments of excitement mixed in with the occasional headache.
As someone who has been involved in residential construction for years, I can tell you that understanding the construction timeline and milestones is crucial to navigating the process smoothly.
Understanding The New Home Construction Process: Key Milestones
If you’re considering building a new home, it’s crucial to understand the major milestones in the construction process. These milestones represent not just progress, but also key moments when decisions are made, inspections happen, and costs are assessed. They also serve as the foundation for keeping the project on track—something that’s easier said than done, especially when there are so many factors at play.
Overview Of The Home Building Timeline
A common question I get asked is: How long will it take to build my home? While every project is unique, I can provide you with a general idea of the timeline. For most homes, the building process takes anywhere from 7 to 14 months. However, this timeline can vary depending on the type of home you’re building.
Here’s a breakdown of typical construction times for different home types:
| Type of Home | Typical Timeline |
| Built-for-sale homes (spec homes) | 6 to 10 months |
| Custom homes | 12 to 24 months (average 10-16 months) |
| Prefab/Modular homes | 3 to 4 months |

Key Phases Of Building A New Home
The home building process is divided into several key phases, each with its own distinct set of milestones. These phases are critical, and understanding them will help you track progress and anticipate what’s next. Whether you’re building a custom home or purchasing a pre-designed one, the process is generally the same, with a few variations depending on the complexity and design of the home.
Phase 1: Planning And Pre-Construction (1 To 12 Months Or More)
This is the phase where everything begins, and as you can imagine, it’s often the most time-consuming. It’s the groundwork that sets the foundation for the entire project, involving a lot of paperwork, discussions, and approvals. For custom homes, the pre-construction phase can be extensive.
- Designing Your New Home:
- This is where you’ll work closely with an architect or designer to create detailed floor plans. You’ll decide on room sizes, layouts, custom features, and other design elements such as energy-efficient materials and smart home technology.
- Personal Experience: I’ve worked on numerous custom homes where the design phase took considerable time, especially when clients sought to integrate high-end finishes or unique materials. For example, designing a home with custom glass features or advanced home automation can take several months to finalise.
- Conducting Site Surveys and Soil Testing:
- A proper site survey is essential to ensure the land is suitable for building. This includes zoning laws, land slope, and any potential restrictions based on location. Additionally, soil testing determines the stability of the ground for the foundation, which is crucial to prevent future issues like shifting or settling.
- Real-World Example: I’ve seen sites where soil testing revealed issues such as clay-heavy soil, which required additional foundation work. This delay by a couple of weeks was vital for long-term stability.
- Budgeting and Financing:
- Creating a detailed budget is an essential step. Be sure to include not only construction costs but also a contingency fund—usually 5% to 7% of the total budget. This helps account for any unforeseen expenses that may arise during the construction process.
- Key Tip: It’s also crucial to obtain pre-approval for a construction loan, which differs from a standard mortgage. The lender disburses funds based on construction milestones.
- Choosing the Right Builder:
- Selecting a reputable builder can make all the difference. This is one of the most important decisions you’ll make, as your builder will manage the project, coordinate subcontractors, and ensure that your vision is realised.
- Personal Experience: I always recommend working with a builder who has a strong track record in the type of home you’re building. Your builder must understand the specific requirements of custom builds, particularly in terms of scheduling, sourcing materials, and adhering to the agreed-upon timeline.
- Obtaining Permits and Approvals:
- Depending on your location, this process can take anywhere from 2 weeks to 3 months. The builder typically handles the paperwork, but it is essential to understand the types of permits required for the project. These ensure the project adheres to local building codes and zoning laws.
- Local Insight: In Melbourne, the permit process can be particularly time-consuming, especially if the house is being built in a heritage zone. It’s essential to factor in this potential delay when planning your construction timeline.
- Signing the Building Contract:
- Once permits are in place and your builder is selected, you’ll sign a legally binding contract that outlines the terms, timeline, payment structure, and any agreed-upon changes.
- Tip: Make sure the contract includes detailed payment schedules based on project milestones. This ensures that payments are tied to actual work completed.
Phase 2: Site Preparation And Foundation (1 To 2 Months)
Once you’ve completed the planning and received all necessary approvals, construction can begin. This phase is crucial, as the site preparation and foundation form the structural base of your new home.
- Land Clearing, Grading, and Levelling:
- Before the foundation can be laid, the site is cleared of any trees, debris, or rocks. The land is then graded and levelled to ensure proper drainage and to prepare the site for construction.
- Real-World Example: I once worked on a project where the land was sloped. This required extensive grading to level the ground, which added extra time to the process. In these situations, retaining walls may also be necessary to prevent erosion.
- Excavation and Footings:
- For homes with crawl spaces or basements, excavation takes place, followed by the installation of footings—concrete bases that support the entire structure. The footings must be sufficiently deep to withstand the weight of the home and should be thoroughly inspected before proceeding.
- Local Insight: Melbourne’s heavy clay soil can make excavation more challenging and time-consuming, as it requires additional foundation work to ensure stability.
- Laying the Foundation:
- The foundation type (slab, crawl space, or basement) is poured in this stage. If you’re using a concrete slab, the concrete must be properly cured, which typically takes a few weeks.
- Personal Experience: For custom homes with basements, I’ve often found that this stage takes longer, as additional considerations such as waterproofing and drainage need to be addressed.
- Underground Utilities:
- During this phase, essential utilities such as water lines, sewage pipes, and gas lines are laid out underground. This is a critical part of the construction process and must be completed before the framing can begin.
- Tip: All underground utilities must be thoroughly inspected and approved before the concrete foundation is poured.
- Foundation Inspection:
- After the foundation and utilities are installed, a city inspector will typically come to ensure everything complies with local building codes. This inspection must be passed before moving on to the next phase.
- Key Insight: In some regions, scheduling foundation inspections can take a few days to a week, so it’s best to plan accordingly and factor in potential delays.
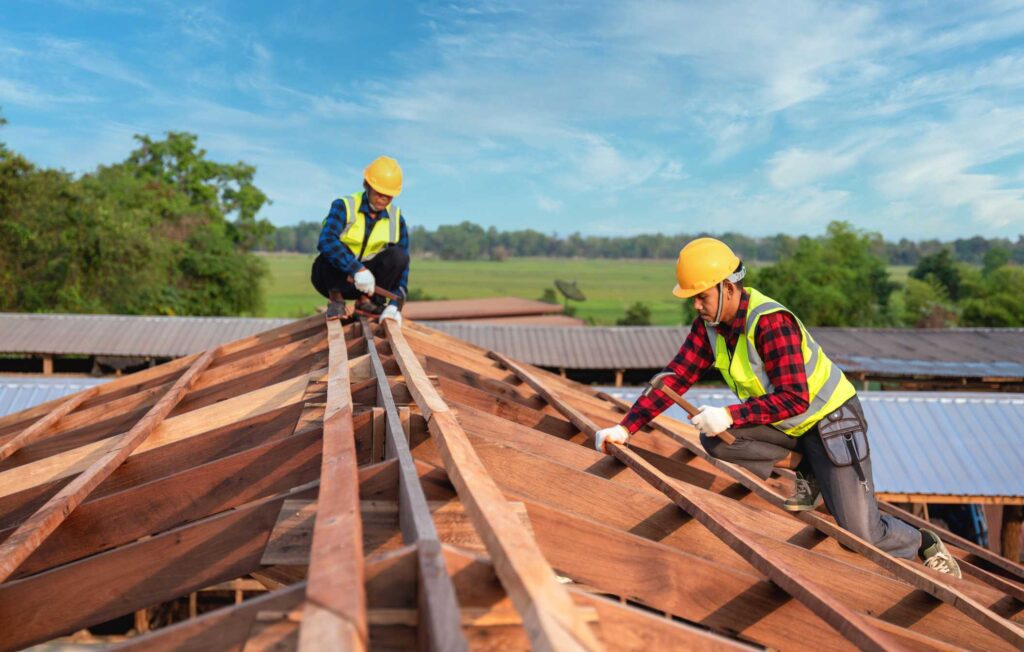
Phase 3: Framing And Structural Work (1.5 To 3 Months)
At this stage, your new home will start to resemble a real structure. The framing process is like putting the skeleton together, marking the point at which you’ll start to see the layout and flow of the home.
- Building the Skeleton:
- The walls, floor systems, and roof rafters or trusses are erected. Think of it as assembling the skeleton of your house. The exterior walls are built first, followed by the interior walls. Once the basic structure is up, sheathing is applied to the exterior walls.
- Real-World Example: During a custom build I was involved in, a client requested an open-plan living space that connected seamlessly with the outdoors. This required careful framing and structural adjustments, and it took a bit longer than usual. The result was worth it, though, as it created a beautiful space that maximised natural light and views of the landscape.
- Window and Door Openings:
- Once the frame is up, window and door openings are cut and framed. At this stage, your house is often referred to as being at the “lock-up” stage, meaning that it’s secure and weatherproof.
- Personal Experience: One of the most rewarding parts of the process is when the window frames and door frames are installed. At this point, the house starts to feel much more like a home, especially when natural light begins streaming through the window openings.
- Rough-in for Plumbing, Electrical, and HVAC:
- Before the walls are sealed, rough-in work begins for plumbing, electrical wiring, and HVAC systems. This is when pipes are laid for water supply and drainage, electrical wires are run for outlets, and ducts for heating and cooling are installed.
- Local Insight: In Melbourne, as in many other areas, this stage can be impacted by the availability of skilled tradespeople. For example, if there’s a shortage of qualified electricians, this phase can be delayed. In these situations, builders and homeowners must adjust timelines accordingly.
- Framing and Rough-in Inspections:
- After the framing and rough-in work is complete, the project is inspected to ensure that everything meets code requirements. Local authorities will assess the plumbing, electrical, and HVAC systems before allowing the next phase of construction to begin.
- Tip: Keep in mind that scheduling inspections can take time, especially in busy areas, so it’s essential to plan for these delays. In some cases, these inspections might add a few days to a couple of weeks to the overall timeline.
Phase 4: Exterior And Interior Finishing (2 To 4 Months For Interiors, 1 To 3 Weeks For Exteriors)
This phase is when you start to see the dream home come together in a very real way. The exterior gets its finishing touches, and the interior transforms into a livable space. While it’s thrilling to see the home take shape, it’s also a phase full of decision-making and attention to detail.
Here’s a breakdown of what happens during this phase:
- Roof Installation (1 to 3 weeks)
The roof is one of the most critical components of the home, as it protects the structure from the elements.
- Roof Decking, Flashing, and Shingles: The roof decking is installed first, followed by flashing around chimneys and vents to prevent leaks. Once these are in place, shingles or tiles are added.
- Personal Experience: During a recent project, we installed a custom metal roof for a home in Melbourne. It was a beautiful, long-lasting choice, but it took a bit longer than the standard shingle roof installation. However, the added time was worth it for the aesthetic and durability it provided.
- Tip: Custom roof materials such as slate or metal may take longer to install, but they offer better long-term performance and add character to your home.
- Siding and Exterior Cladding (1 to 3 weeks)
The exterior cladding not only gives your home its first impression but also provides insulation and protection from the weather.
- Installing the Cladding: Whether it’s brick, stone, timber, or fibre cement, this stage involves covering the home’s exterior with materials that enhance curb appeal and provide durability.
- Real-World Example: On one build in Melbourne, we chose a combination of timber and brick for the exterior cladding, resulting in a home with a modern yet warm appearance. The installation took a few weeks, as we had to ensure the timber was sealed correctly to avoid moisture damage.
- Local Expertise: In Melbourne, where we experience varying weather conditions, using durable cladding like brick or weather-resistant timber is key. This helps protect the home during the harsh winter months and provides cooling benefits during the summer.
- Insulation (1 to 2 weeks)
Insulation is crucial for maintaining a comfortable indoor temperature. It helps with both heating and cooling, reducing your overall energy bills.
- Installing Insulation: Rigid foam or fibreglass insulation is installed in the walls and ceilings to improve energy efficiency. This process typically takes around 1 to 2 weeks.
- Tip: Ensure you choose the right insulation for your climate. For Melbourne’s climate, a combination of high R-value insulation in the roof and walls helps keep heating costs down during the colder months.
- Energy-Efficiency Testing: After installation, energy-efficiency tests are sometimes conducted to ensure the home is properly insulated. This can help you determine whether you need to add extra insulation in certain areas.
- Drywall (2 to 4 weeks)
The drywall installation phase is one of the most visible steps in the interior finishing process. It provides the home with a structure and prepares the walls for painting and other finishes.
- Installing and Taping Drywall: After insulation is installed, drywall or plasterboard is hung on the interior walls and ceilings. After it’s up, it’s taped, sanded, and primed to create smooth surfaces.
- Personal Experience: In some projects, we’ve had to make adjustments for unique wall designs or angled ceilings, which added time to the drywall installation. Custom touches, such as curved walls or recessed lighting, require extra effort but can significantly enhance the space’s appearance.
- Tip: Drywall installation can sometimes be delayed due to scheduling conflicts with subcontractors, so it’s essential to maintain regular contact with your builder to ensure the timeline stays on track.
- Interior Painting and Texturing (2 to 4 weeks)
Once drywall is ready, it’s time to apply the finishing touches that turn the bare walls into a home.
- Painting the Interior: After the drywall is finished, the painting process begins. The first coat is usually a primer, followed by the final topcoat. This is a crucial step as it sets the tone for the interior’s aesthetic.
- Personal Experience: I’ve worked on projects where the homeowner chose custom paint finishes, such as matte or satin, which required multiple coats of paint to achieve the desired finish. This can stretch the process a little but adds a high-end, sophisticated finish.
- Texturing: If you’re opting for custom textures, such as a feature wall or decorative plastering, this will be completed during this phase.
- Tip: Decide on your colours and finishes early on to avoid delays during the painting process. It’s always easier for the painter if they know exactly what the homeowner wants from the start.
- Flooring and Trim Installation (2 to 3 weeks)
Once the walls are finished, the focus shifts to the floors and trim. This step not only enhances the home’s look but also adds functional value.
- Flooring Installation: Flooring materials, whether it’s hardwood, tile, vinyl, or carpet, are installed in the home. Hardwood floors or luxury vinyl tend to take longer to install, especially if custom finishes are involved.
- Tip: Pre-finished flooring can save time, as it doesn’t require additional sanding or staining after installation.
- Trim and Moulding: Baseboards, crown moulding, window casings, and interior doors are installed. This step can help bring a home’s character to life.
- Real-World Example: I’ve seen how a detailed trim package can significantly alter the appearance of a room. In one project, we installed wide baseboards and large crown moulding, which elevated the entire space.
Phase 5: Landscaping And Exterior Enhancements (1 To 2 Months)
As the interior of your home nears completion, this phase focuses on the exterior and surrounding grounds. Landscaping plays a crucial role not only in enhancing the curb appeal of your home but also in making it more functional and sustainable.
- Grading for Drainage:
- Final grading ensures that water flows away from the foundation. It’s a crucial step to prevent water damage, erosion, and moisture-related issues that could affect the structure in the future.
- Real-World Example: I once worked on a project where the site had a slight slope, which required a significant amount of grading. Proper drainage was a priority, and the grading work ensured that we avoided costly water issues down the road.
- Hardscaping:
- This includes installing pathways, driveways, retaining walls, and patios. Hardscaping creates functional outdoor spaces that enhance both the appearance and usability of your home.
- Personal Insight: For one project in a coastal area of Melbourne, we utilised local stone for the retaining walls, which not only complemented the area’s aesthetic but also helped mitigate erosion caused by the coastal winds.
- Planting:
- Trees, shrubs, and grass are planted, which can add significant value to your home and contribute to a more sustainable environment. Properly planted greenery can also help with insulation by providing shade during hot summers.
- Local Insight: In Melbourne, where the climate is variable, choosing drought-resistant plants is often recommended. It’s also a good idea to think about the long-term growth of trees and their impact on the property’s value and the surrounding landscape.
- Outdoor Features:
- This phase also includes the installation of outdoor features, such as lighting, fencing, and irrigation systems. Lighting can dramatically enhance the appearance of your property, while an irrigation system ensures your plants thrive with minimal effort and maintenance.
- Real-World Example: I worked on a project where the homeowners wanted an outdoor kitchen and entertainment area in their backyard. It took a few weeks to plan and execute, but it was well worth it, creating a perfect space for summer gatherings.
Phase 6: Final Inspections And Handover (1 To 2 Months)
Once the exterior and landscaping are complete and all interior finishes have been installed, the final phase begins. This phase involves a final round of inspections to ensure everything meets code and prepares your home for occupancy.
- Final Inspections:
- Local authorities will conduct a series of final inspections to ensure that plumbing, electrical systems, and the structure of the home meet all safety and regulatory standards. These inspections typically occur in stages.
- Personal Experience: I’ve been through multiple final inspections, and in some cases, we’ve had to make last-minute adjustments based on the inspector’s feedback. The best advice here is to be flexible and address any concerns immediately to avoid delays.
- Final Walkthrough:
- After the final inspections, the builder will walk through the home with you, the homeowner, to ensure everything is in place and to discuss any remaining tasks or fixes. This is also the time to address any minor issues that need to be resolved before moving in.
- Real-World Example: On one project, the homeowner noticed a small scratch on a hardwood floor during the walkthrough. Thankfully, we were able to resolve it before the final handover, ensuring the home was in pristine condition.
- Cleaning and Move-In:
- Before you can move in, a thorough cleaning of the home takes place. This ensures that the home is ready for occupancy, free from construction dust and debris.
- Tip: This is an ideal time to begin planning your move-in logistics. I recommend scheduling your move-in date for a few days after the cleaning to ensure everything is in top shape.
- Handover:
- Once everything is cleaned and finalised, the keys are handed over to the homeowner, marking the official completion of the home-building process.
- Key Insight: Make sure all your documentation is in order—this includes the Certificate of Occupancy (CO), warranty information, and any service agreements for appliances or systems in the home.
Building a new home is a complex process, but it’s also incredibly rewarding. By understanding each phase and what’s involved, you can better manage expectations and ensure a smoother journey.
Remember, no two projects are exactly alike, and there will always be unique challenges along the way. However, by working closely with your builder and staying proactive, you can bring your vision to life.